📋 Explanation of KYC Steps
This guide provides a comprehensive walkthrough of the complete KYC verification process, explaining each step with detailed screenshots and instructions.
KYC Process Overview
The KYC verification consists of 4 main steps: Login → Personal Details → Selfie Verification → Additional Information. The entire process typically takes 2-3 minutes to complete.
Step 1: Login (Optional)
If userEmail parameter is passed in the KYC widget URL, this step is automatically skipped.
1.1 Enter Email Address
Users need to enter their email address and request an OTP:
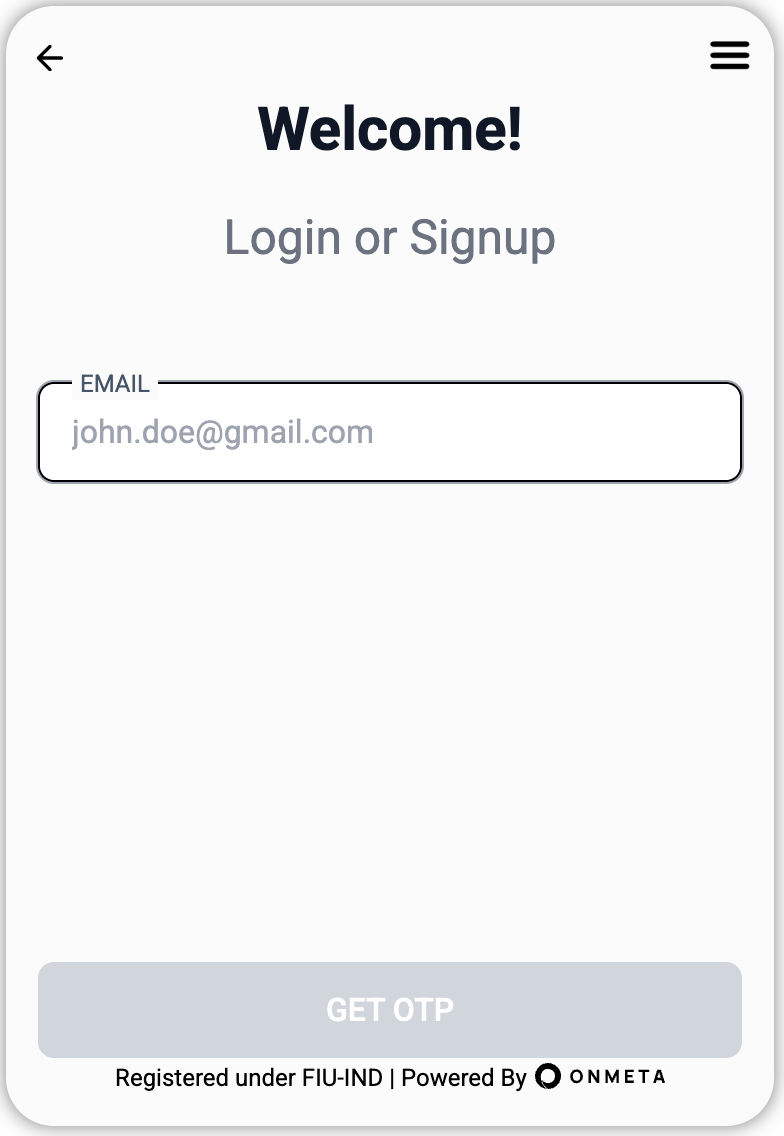
Actions:
- Enter valid email address
- Click "Get OTP" button
- OTP will be sent to the provided email
1.2 Verify OTP
Enter the 4-digit OTP received on email:

Actions:
- Check email inbox for OTP (check spam if not received)
- Enter the 4-digit OTP
- Click "Verify" button
- Upon successful verification, user is redirected to KYC first page
OTP is valid for 10 minutes. Request a new one if it expires.
Step 2: Personal Details
2.1 Enter PAN and Phone Number
Provide your PAN (Permanent Account Number) and phone number for verification:
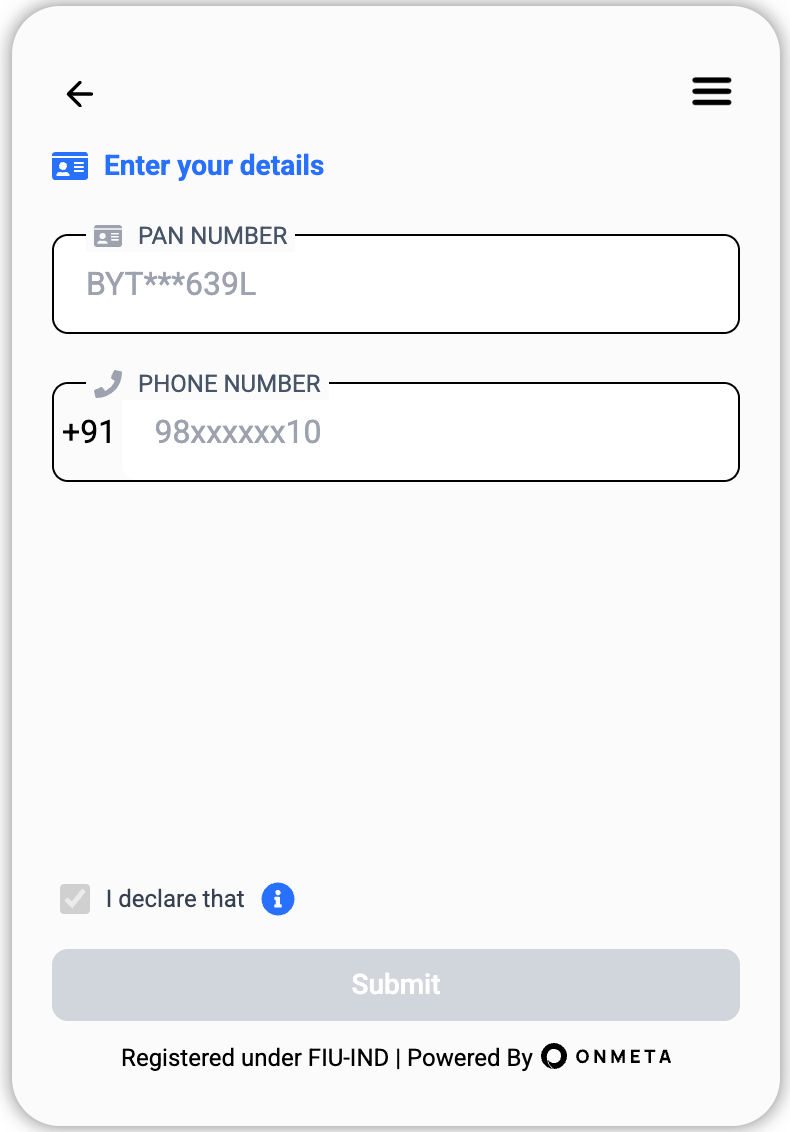
Required Information:
- PAN Number: 10-character alphanumeric PAN card number
- Phone Number: 10-digit mobile number linked to Aadhaar
Actions:
- Enter valid PAN number
- Enter phone number (must match Aadhaar-linked number)
- Click "Submit" button
2.2 DigiLocker Permission
After clicking submit, browser will request permission to open a new window:
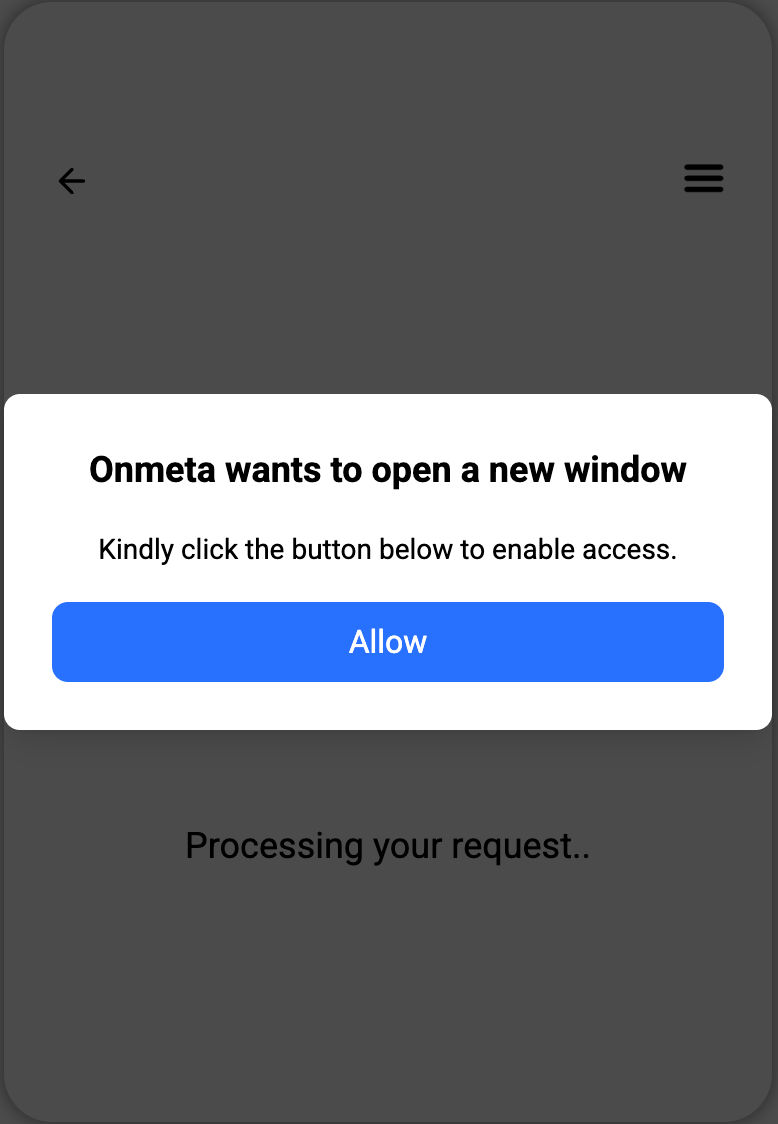
Actions:
- Allow the popup window permission
- DigiLocker window will open in a new tab
Make sure your browser allows popups. If blocked, check browser settings and allow popups for this site.
2.3 DigiLocker Session
DigiLocker session will be generated. Click to proceed:
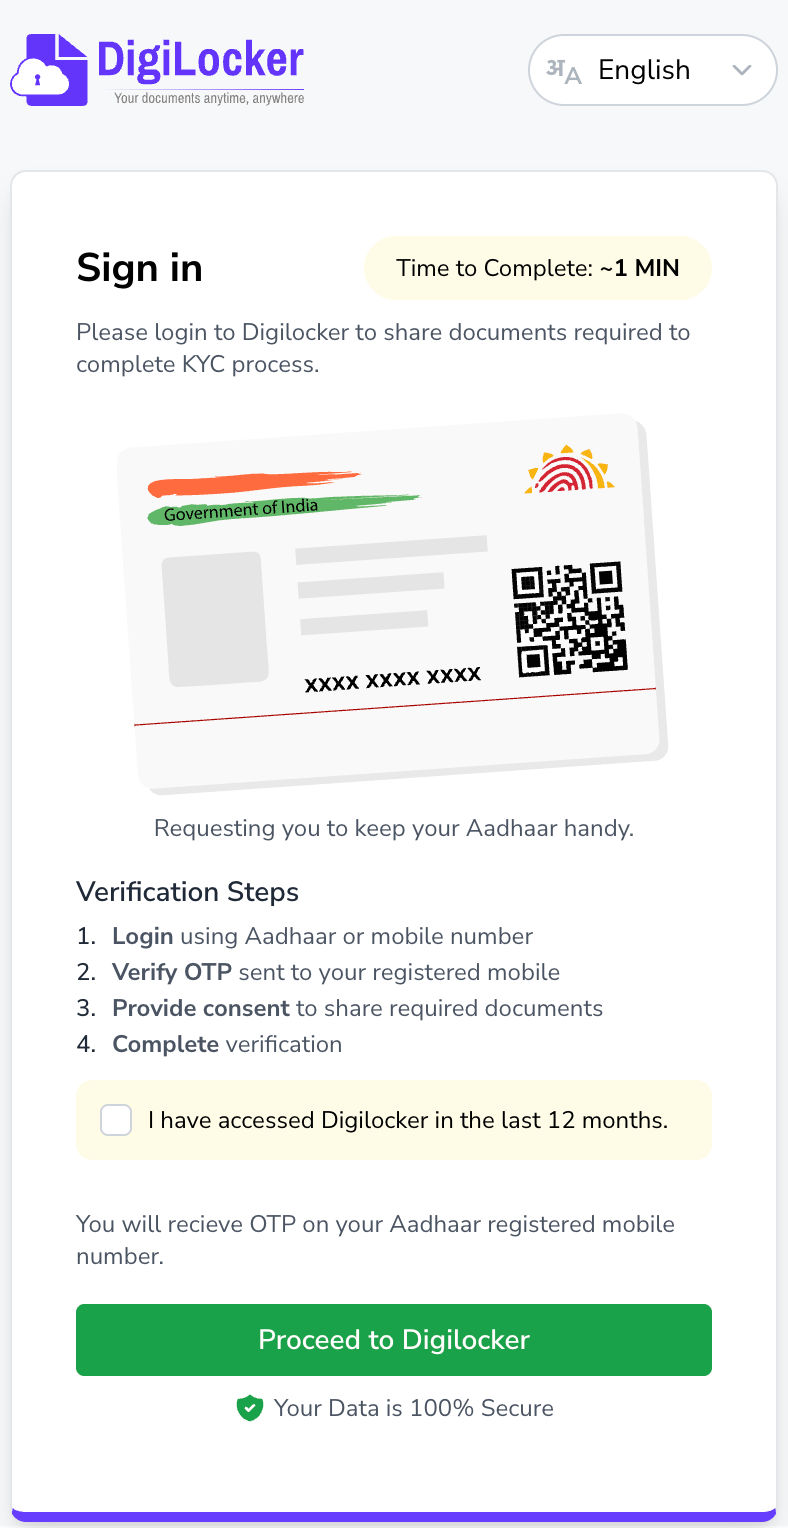
Actions:
- Click "Proceed to DigiLocker" button
- You'll be redirected to DigiLocker sign-in page
2.4 DigiLocker Sign In
Enter mobile number, give consent, and sign in:
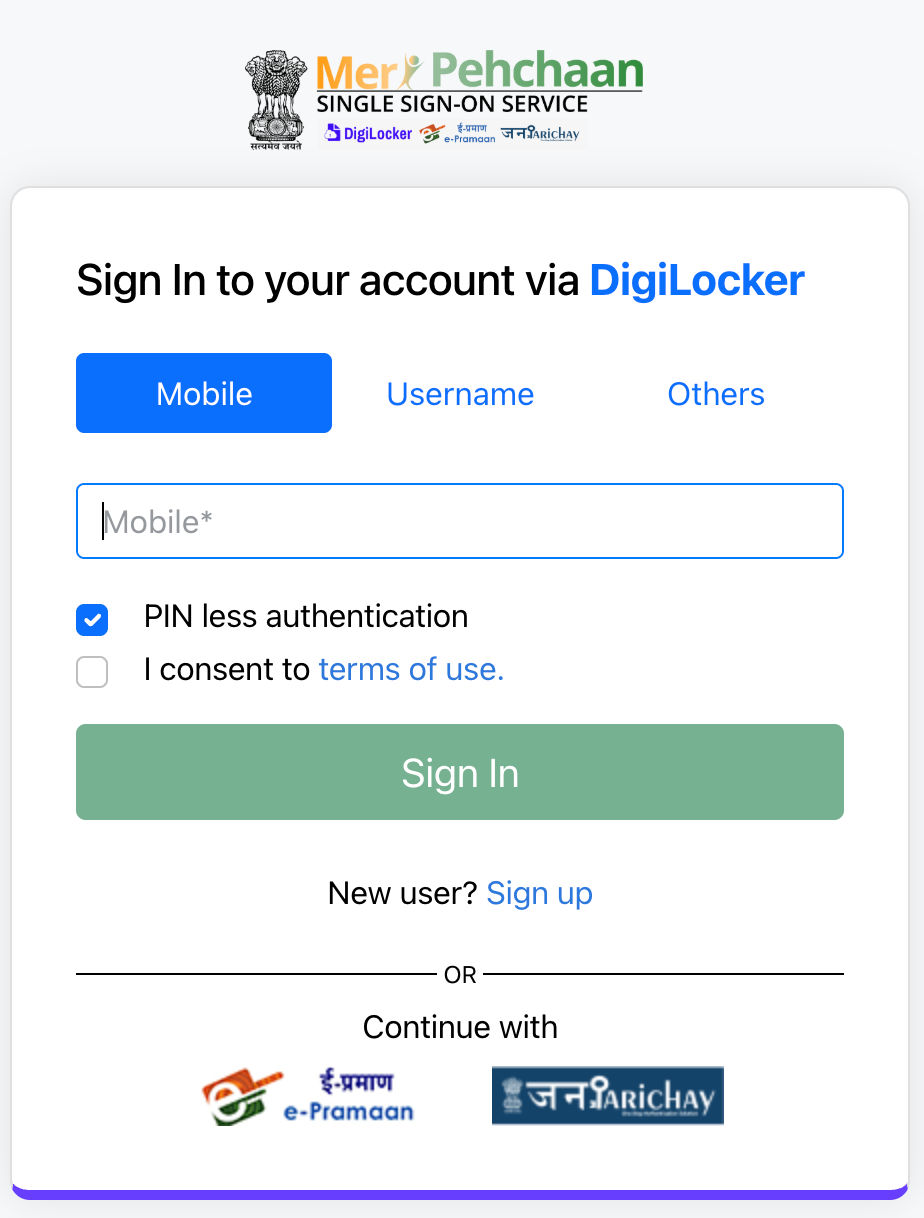
Actions:
- Enter your Aadhaar-linked mobile number
- Check the consent checkbox
- Click "Sign In" button
- OTP will be sent to your mobile number
2.5 DigiLocker OTP Verification
Enter the OTP received on your mobile:
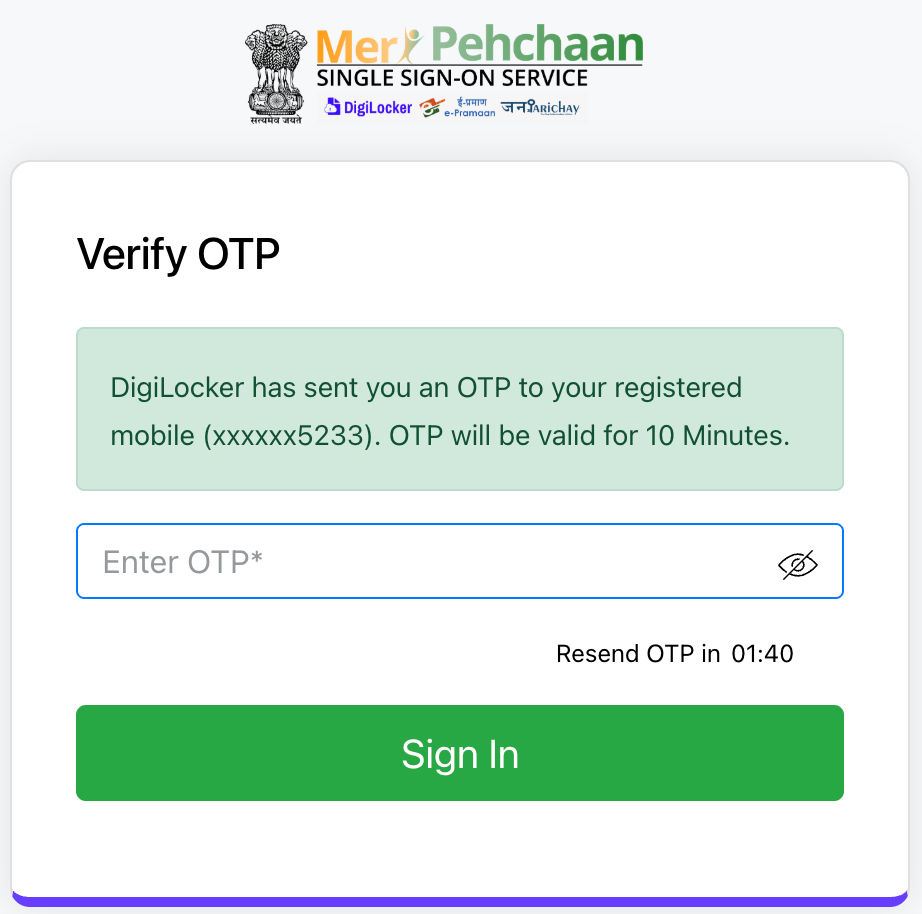
Actions:
- Enter 6-digit OTP received via SMS
- Click "Sign In" button
2.6 Document Consent
DigiLocker will request consent to access your documents:
Required Document Consent
Actions:
- Give consent for Aadhaar document access
- Give consent for PAN document access
- DigiLocker will fetch and send documents to Onmeta
- After successful document fetch, you'll be redirected to the next KYC step
DigiLocker is a Government of India initiative. Your documents are fetched securely and used only for verification purposes.
Step 3: Selfie Verification
3.1 Capture Live Selfie
Follow on-screen instructions to capture your selfie:
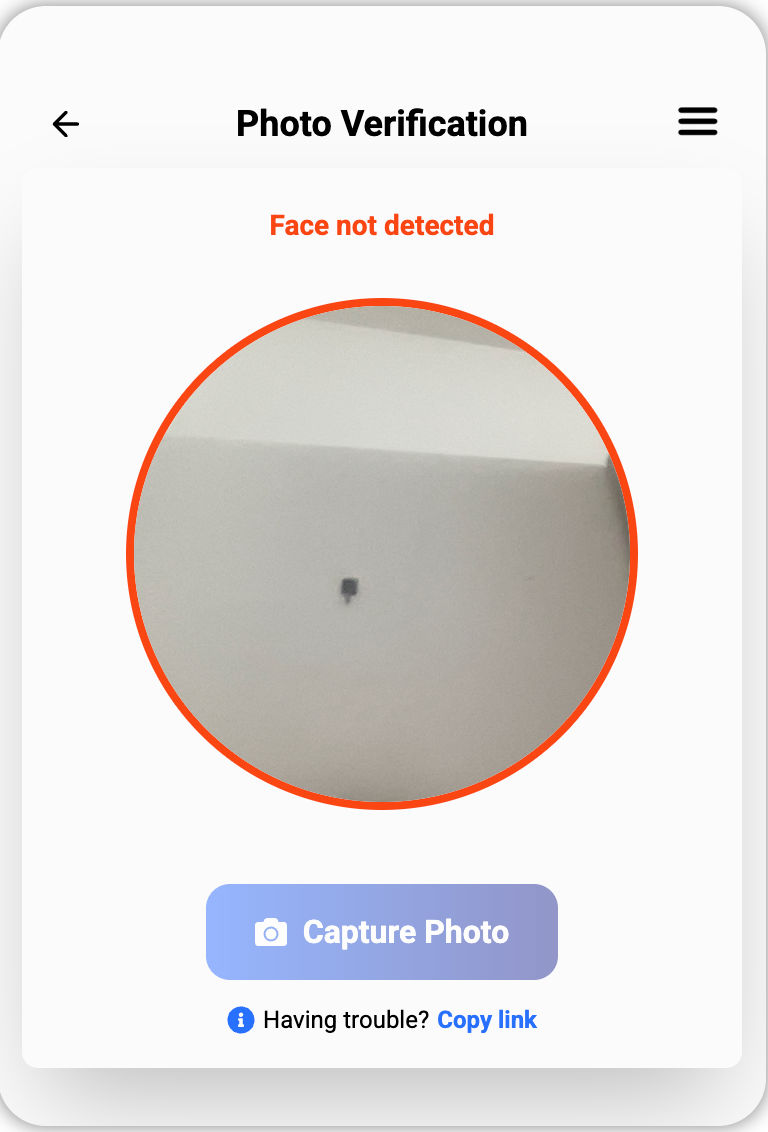
Instructions:
Center Your Face
Position face within the oval frame
Good Lighting
Ensure adequate lighting on face
Liveliness Check
Move face as instructed
Clear Photo
Avoid blur and obstructions
Actions:
- Allow camera permission when prompted
- Position your face in the center of the frame
- Follow on-screen instructions for liveliness check
- Click "Capture Photo" when ready
3.2 Photo Preview & Submit
After capturing, you'll see a preview of your photo:
Actions:
- Submit: If photo is clear and acceptable, click submit to proceed
- Retake: If you want to capture again, click retake button
3.3 Verification Process
Once you submit the selfie, the following checks are performed in the background:
Automated Verification Checks
If both checks are successful, you'll be redirected to the final KYC step.
Step 4: Additional Information
4.1 Provide Additional Details
Complete your KYC by providing additional information:
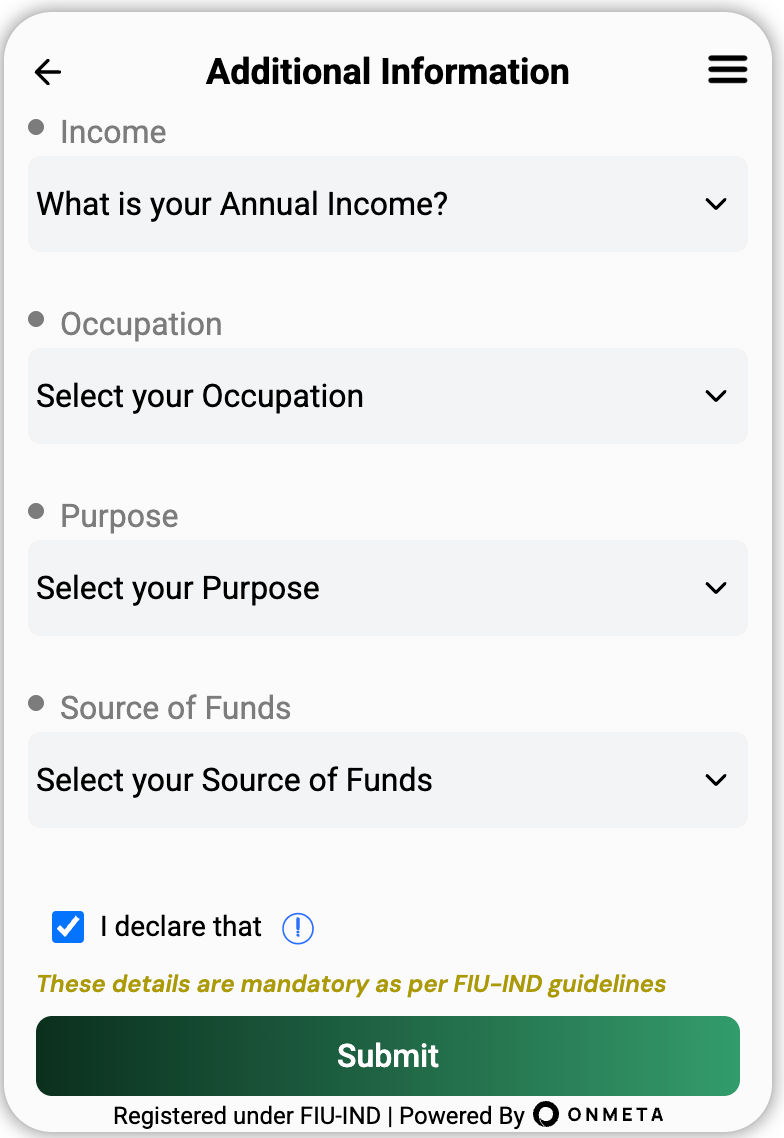
Required Information:
Actions:
- Select appropriate value from each dropdown
- All fields are mandatory
- Click "Submit" button
4.2 KYC Completion
KYC Successfully Completed!
Your KYC verification has been submitted successfully. You'll receive a confirmation email of KYC completion.
Common Issues & Solutions
DigiLocker popup or camera is blocked
- Check your browser's popup settings
- Allow popups for this site
- Try again after enabling popups
- Check permissions for enabling camera
Selfie verification failed
- Ensure good lighting on your face
- Remove glasses, caps, or face masks
- Keep face centered in the frame
- Follow liveliness check instructions carefully
- Retake the photo if needed
Phone number not linked to Aadhaar
- Ensure the phone number is linked to your Aadhaar
- Visit UIDAI website to link/update mobile number
- Wait 24 hours after linking before trying again
Documents not fetched from DigiLocker
- Verify PAN and Aadhaar are linked
- Check if documents are available in your DigiLocker account
- Try the process again after a few minutes
- Contact support if issue persists