Crypto On-Ramp & Off-Ramp, Simplified
The complete toolkit for fiat-to-crypto on-ramps and off-ramps. Integrate global payment methods with enterprise-grade compliance in minutes.
Global Coverage
Support for UPI, Bank Transfers, GCash, PayMaya, and more across multiple regions.
Instant Settlement
Transactions typically complete in under 60 seconds with our optimized liquidity engine.
Enterprise Compliance
FIU registered with built-in KYC/AML checks, so you can focus on building.
Comprehensive Product Suite
Everything you need to onboard users to Web3, whether you want a plug-and-play widget or a fully custom API integration.
On-Ramp Widget
Allow users to buy crypto using fiat. Pre-built UI for fast integration.
- Zero-friction KYC
- Global payment methods
- Customizable theme
Off-Ramp API
Let users cash out crypto to their bank accounts seamlessly.
- Instant bank transfers
- High limits & strong authentication
- Webhooks support
Custom API
Build your own UI on top of our robust infrastructure API.
- Full white-label
- Granular control
- Comprehensive docs
💰 Fiat Currency Supported
Indian Rupee
₹ INR
Philippines Peso
₱ PHP
Indonesian Rupiah
Rp IDR
⛓️ Supported Blockchain Networks
Builders building any dApp on our supported blockchain networks can integrate Onmeta to easily On/Off Ramp their users. Our solution is curated for Crypto wallets, Gaming dApps, NFT Marketplaces, DeFi platforms, and Crypto Exchanges.


🛫 Getting Started - Merchant Onboarding
Complete your one-time KYB process to onboard with Onmeta and start using our on-ramp and off-ramp solutions.
📝 Onboarding Steps:
1️⃣ Register & Login
Go to dashboard.onmeta.in and register for a new account or log in if you already have one.
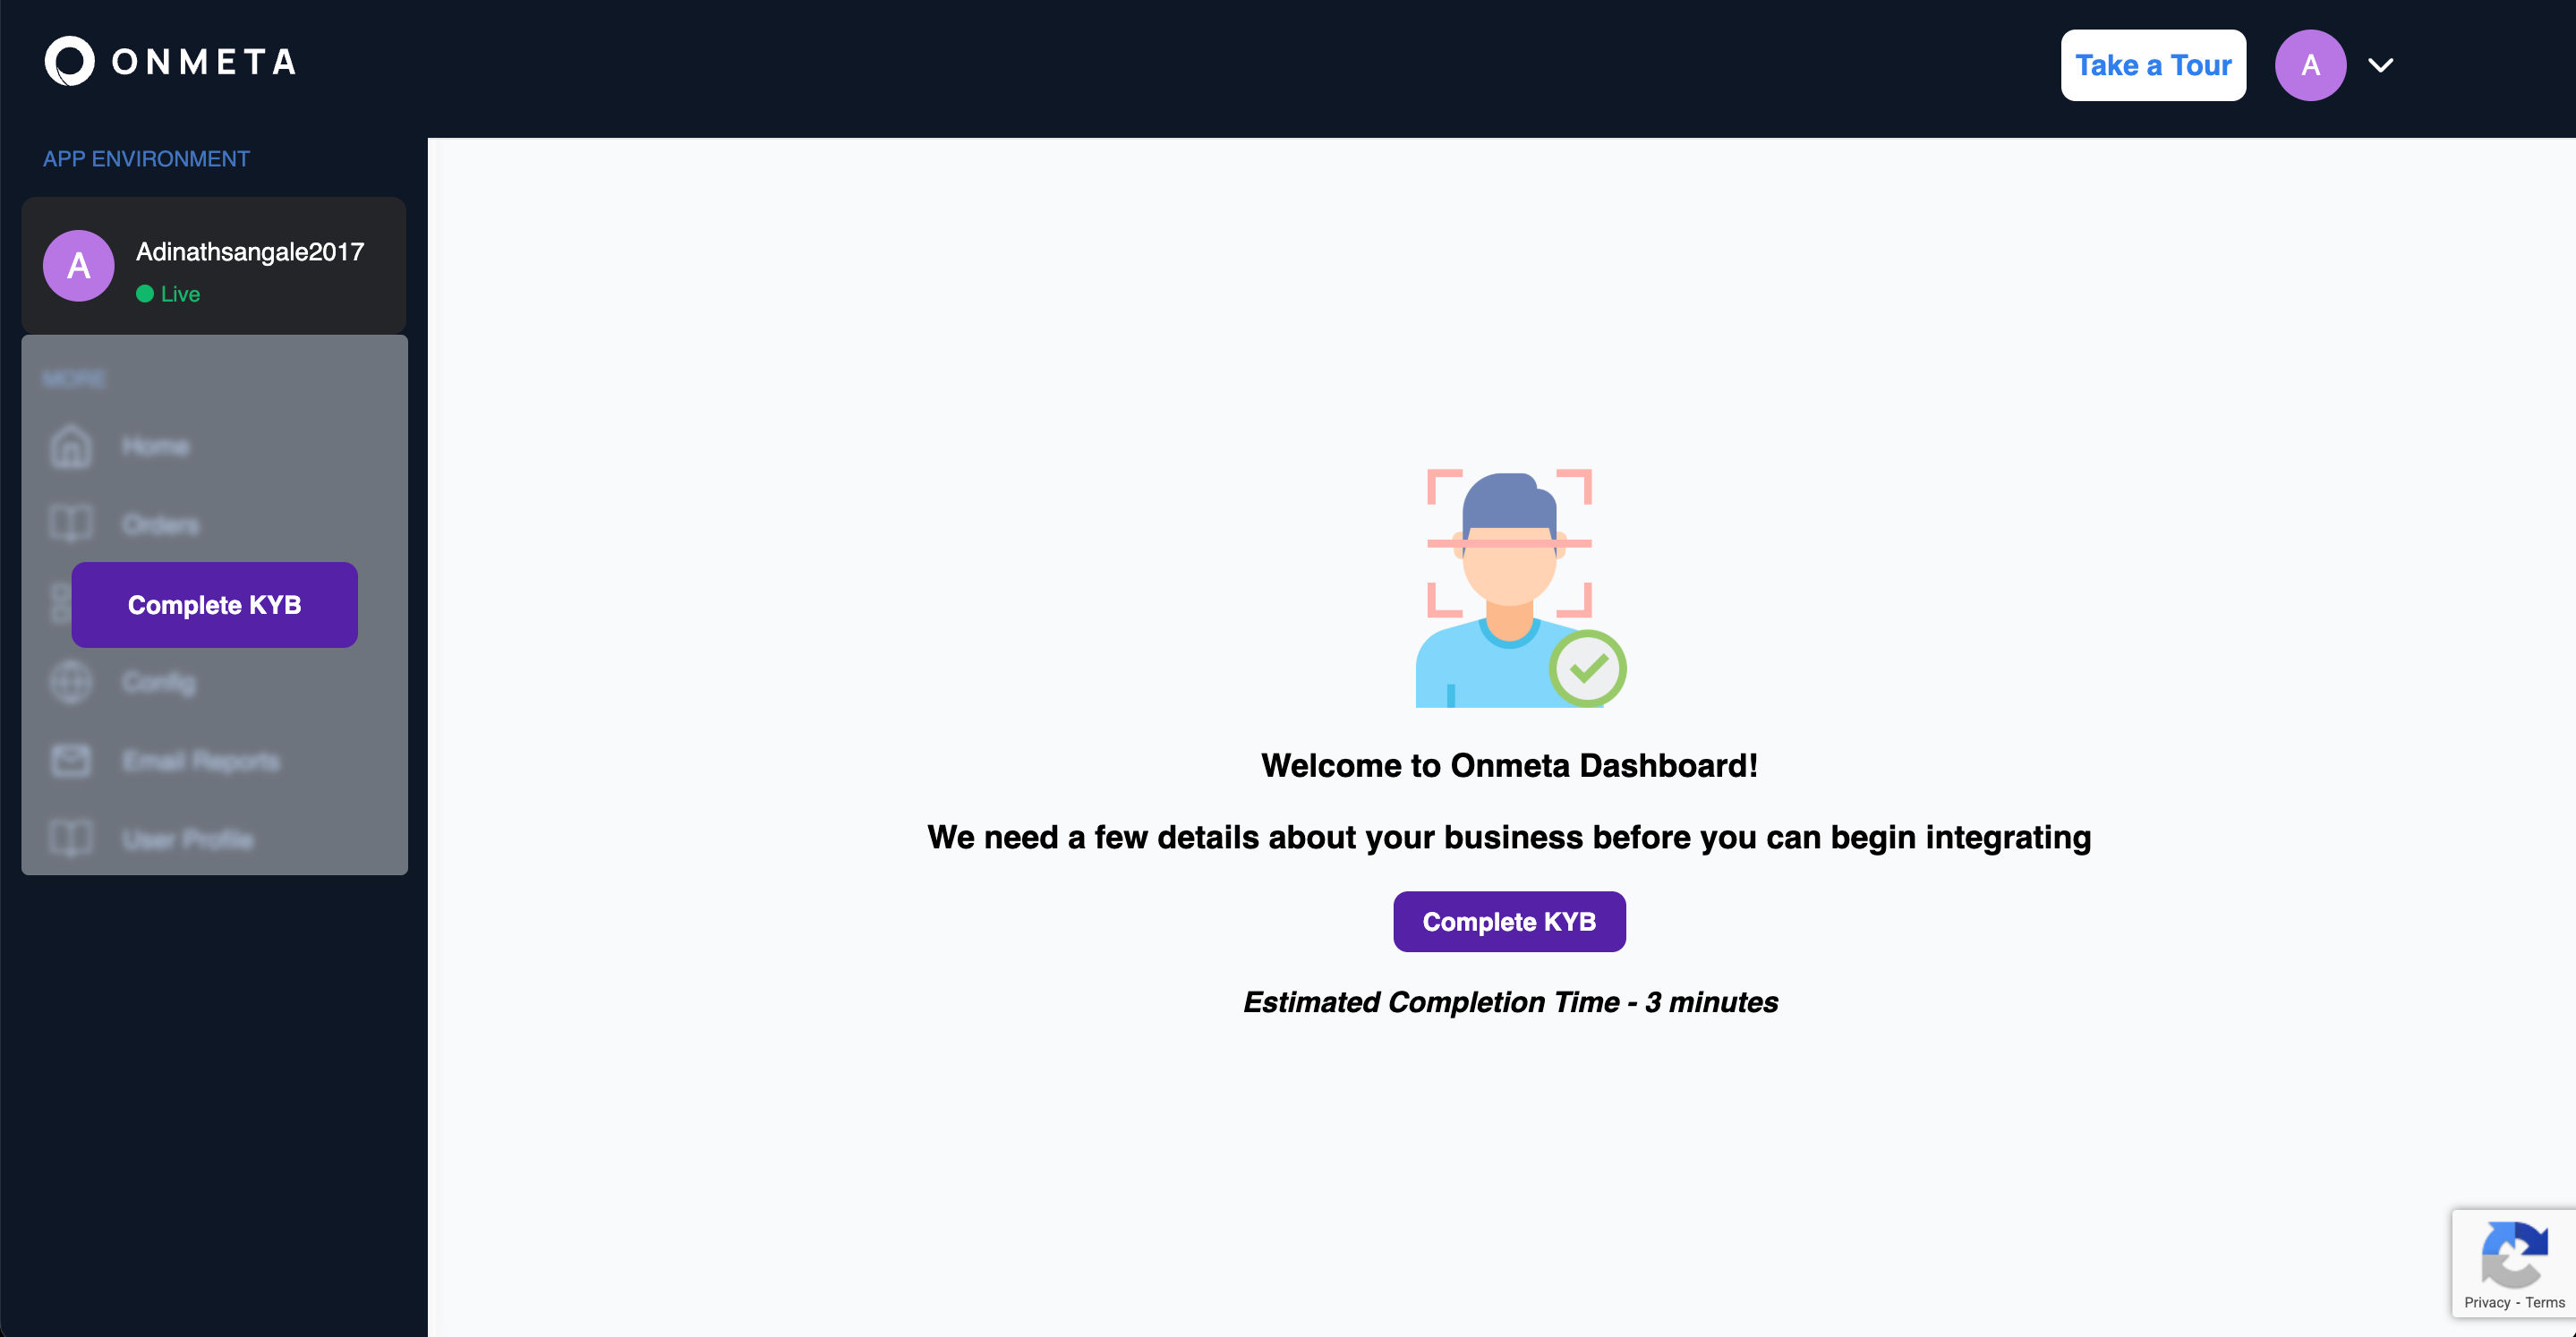
2️⃣ Start KYB Process
After logging in, on the dashboard home page, you will see a "Complete KYB" banner. Click the Complete KYB button to begin.
3️⃣ Fill KYB Forms (3 Steps)
- Step 1: Company Details - Enter entity name, unique entity number, country of incorporation, nature of business, and website link
- Step 2: Unique Beneficial Owner Details - Enter UBO name, date of birth, country of citizenship, and address
- Step 3: Upload Documents - Upload certificate of incorporation, tax certificate, and beneficial owner identity and address proofs
4️⃣ Review & Approval
Once submitted, your KYB application will be reviewed by our internal team. Approval typically takes 2-3 working days.